
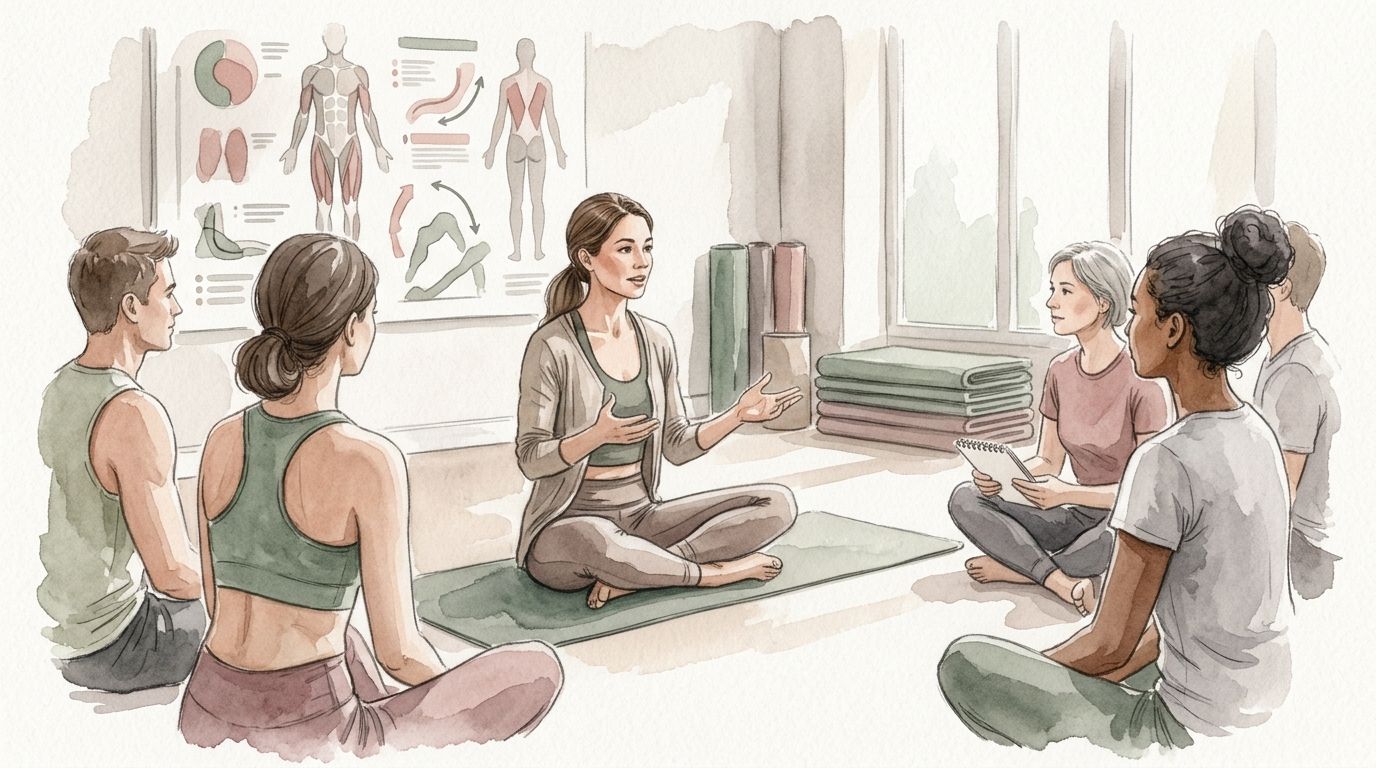
You need enough anatomy to explain an exercise, recognize the joint actions involved, and adjust your teaching when a movement is unsuitable—not a medical degree or every muscle name memorized. With $497 tuition and flexible self-paced study, you can study anatomy alongside mat instruction, introductory Reformer concepts, and cueing. Your goal is applied understanding: connect what the body does to what you ask a student to do.
- A Pilates instructor course needs applied anatomy: joint actions, movement planes, muscle roles, and clear cueing.
- TeachPilates suits aspiring instructors seeking self-paced online study, not a substitute for dedicated hands-on apparatus qualification.
- Learn anatomy through exercises rather than memorizing disconnected muscle lists.
- Check assessment requirements, teaching scope, and practical feedback before enrolling in 2026.
Pilates instructor course: how much anatomy do you need?
You need a working foundation in bones, joints, muscles, and movement—not clinical diagnostic knowledge. You should be able to describe the movement you are teaching, explain its purpose in plain language, and recognize when a student's needs exceed your training.
The TeachPilates Pilates instructor course covers anatomy, mat and Reformer instruction, cueing, and business skills. Treat that curriculum as a starting point for your enrollment questions: ask how anatomy connects to exercise practice and how your understanding is assessed.
Use this checklist to judge whether you understand an exercise well enough to explain it:
- Identify the movement. Name the joints moving and describe their direction.
- Explain the demand. Identify which muscles contribute and which body regions need control.
- Choose the cue. Translate that information into an instruction a student can follow.
- Set the boundary. Recognize when you need to stop, seek guidance, or refer the student elsewhere.
These are study checks, not a universal certification standard. Each training provider sets its own syllabus and assessment requirements; a checklist cannot replace them.
Why this matters
Anatomy gives your instructions a reason. Without it, you risk repeating cues because you heard them in class rather than understanding when they fit.
For your 2026 course decision, prioritize the connection between anatomy and teaching over the length of a terminology list. A course should help you move from recognizing a word to explaining an exercise, selecting an appropriate variation, and staying within your teaching scope.
Knowing more anatomy also does not expand your professional authority by itself. Understanding a spinal movement does not qualify you to diagnose back pain or prescribe rehabilitation.
What anatomy should you understand before teaching?
Build your knowledge around movement you can observe. You do not need to sound like a textbook when you teach, but your explanations should rest on accurate concepts.
Bones and joints: locate the movement
Start with the spine, pelvis, shoulder region, hips, knees, and ankles. Learn where movement occurs and how neighboring regions contribute to the exercise.
For example, hip flexion and spinal flexion are different actions. Bringing your thigh toward your torso involves hip flexion; bending the spine forward involves spinal flexion. An exercise can involve both, so avoid treating every forward movement as the same action.
Study question: Can you describe what moves without relying on the exercise's name?
Muscle roles: explain more than a name
Learn major muscle groups in relation to the movements they contribute to. Include the abdominal wall, back muscles, gluteal muscles, hip flexors, quadriceps, hamstrings, and muscles controlling the shoulder region.
Avoid assigning every exercise to a single muscle. Muscles can contribute to movement, resist movement, or help maintain a position depending on the task.
An anatomy term becomes useful when it improves your explanation. Naming the hamstrings matters less than understanding their contribution to knee flexion and, for most of the group, hip extension.
Movement planes: organize what you see
There are 3 anatomical planes commonly used to describe movement: sagittal, frontal, and transverse. Flexion and extension are generally described in the sagittal plane; rotation is described in the transverse plane.
The planes give you a shared vocabulary for studying exercises. They are a descriptive framework, not a requirement to announce technical terms throughout a class.
Breathing and control: connect the instruction to the task
Understand the diaphragm's role in breathing and distinguish an instruction to breathe from an instruction to hold a position. Avoid presenting every breathing pattern as the only correct pattern for every person.
When you use a breathing cue, know what you want it to help the student notice. A cue without a clear purpose adds words rather than clarity.
How much anatomy do different teaching goals require?
Your intended teaching scope should guide your training choice. Mat teaching, introductory apparatus study, and dedicated apparatus qualification are not interchangeable outcomes.
| Training focus | Best for | Anatomy emphasis | Strength | Limitation |
|---|---|---|---|---|
| Mat-teaching foundations | Aspiring instructors building a foundation in mat exercises | Joint actions, body position, muscle roles, and exercise choices | Connects movement concepts to mat teaching | Does not establish apparatus competence by itself |
| Introductory Reformer concepts | Learners beginning to understand apparatus-based movement | How body position and resistance change an exercise's demands | Adds context beyond mat work | Introduction is not dedicated hands-on apparatus qualification |
| Dedicated hands-on apparatus training | Aspiring instructors planning to teach apparatus sessions | Applied movement knowledge alongside equipment setup and supervised practice | Addresses equipment-specific teaching tasks | Requires separate scrutiny of access, practice, and assessment requirements |
For a 2026 enrollment decision, ask what you will be assessed teaching—not just which equipment appears in the curriculum. Seeing an apparatus exercise demonstrated is different from practicing its setup and teaching it under observation.
TeachPilates is best for aspiring Pilates instructors seeking self-paced online study. Its format offers study flexibility; the limitation is that you must separately establish whether your practical preparation matches the teaching role you want. Do not treat introductory Reformer content as proof of dedicated hands-on apparatus qualification.
Why your anatomy study needs vary
Your preparation should match your starting point and intended teaching tasks. Use these factors to decide where you need more explanation or practice:
- Your existing knowledge. Familiarity with anatomy vocabulary lets you spend more study time applying it to exercises; unfamiliar terms need explanation first.
- Your intended teaching scope. Mat teaching and apparatus teaching involve different practical tasks, even when they share anatomical concepts.
- Your ability to explain movement. Recognizing a muscle in a diagram is different from using that knowledge to give a clear cue.
- Your practical experience. Performing an exercise gives you a perspective that reading alone does not provide, but performance is not proof of teaching competence.
- Your assessment requirements. Prepare for the actual written and practical tasks specified by the provider rather than assuming every course tests anatomy the same way.
Do not set your study target around an unsupported number of anatomy hours. Set it around the knowledge and teaching tasks you need to demonstrate, then check the provider's requirements.
How should you study anatomy during a Pilates instructor course?
Use an exercise-led sequence. Move between the anatomical concept, your own practice where appropriate, and a spoken explanation rather than leaving all practical application until the end.
1. Observe movement
Choose an exercise from your course and describe its starting position. Identify which joints move and which regions remain relatively steady.
Keep the description short enough to say aloud. If you cannot distinguish movement at the hip from movement at the spine, revisit that distinction before adding more terminology.
2. Explain the task
Describe what the exercise asks the student to do against gravity or another form of resistance. Then connect relevant muscles to that task.
Separate what you can observe from what you cannot establish by looking. A visible change in position does not, by itself, establish a diagnosis or explain someone's pain.
3. Practice cues
Turn your anatomical explanation into an instruction. Instead of naming a muscle and assuming the student understands, describe the action or position you want.
Try 2 cue versions: a plain-language action cue and a more technical explanation for study. This practice helps you retain the anatomy without making every class instruction a lecture.
4. Review limits
Ask what you would do if the student reported pain, could not follow the instruction, or needed support beyond your competence. Do not practice diagnosing the cause.
Your next action should fit your training and the situation. Knowing when to stop teaching an exercise is part of responsible instruction, not evidence that you failed to memorize enough anatomy.
Repeat this sequence with exercises from your actual syllabus. The purpose is not to collect elaborate explanations; it is to build explanations you can use accurately.
Do you need to know anatomy before enrolling?
You do not need to arrive knowing every anatomical term. You do need to check the course's entry requirements and be ready to learn the vocabulary alongside movement practice.
For TeachPilates, no teaching background is required. That does not mean anatomy can be skipped: anatomy is part of the stated curriculum, alongside instruction, cueing, and business skills.
Before enrolling in 2026, ask whether the learning materials assume prior anatomy study. Also ask what help is available when a concept is unclear, rather than assuming that self-paced access includes individual coaching.
How do you know whether you understand enough anatomy?
Use 3 practical checks: explain the joint action, give a clear cue, and identify the limit of your knowledge. These checks help you study; your provider's assessment determines whether you meet its course requirements.
A written test and a teaching demonstration assess different things. Read about written versus practical assessments so you can ask specific questions about how knowledge becomes demonstrated teaching ability.
If you can recall terminology but cannot explain an exercise, focus on application. If you can copy a demonstration but cannot explain its movement demands, return to the anatomy.
What should you check before paying tuition?
For your 2026 shortlist, separate the course's stated content from the support, access, and credentials you need confirmed. A topic appearing in a syllabus does not answer every enrollment question.
Ask the provider:
- What anatomy knowledge does the course assume at entry?
- How does the anatomy content connect to mat teaching?
- What does the Reformer component prepare you to do?
- How are written knowledge and practical teaching assessed?
- What feedback, access period, and completion conditions apply?
- Does any independent credential require a separate application or assessment?
TeachPilates tuition is $497, with flexible self-paced study. Use that known starting point, then confirm the details that affect your decision; do not assume an independent credential, a particular studio's acceptance, or a job outcome is included.
FAQ
How much anatomy do I need for a Pilates instructor course?
You need working knowledge of joint actions, major muscle roles, movement planes, and how those concepts inform exercise instruction. Your course provider sets the specific syllabus and assessment requirements.
Can I start Pilates teacher training without an anatomy background?
Check the provider's entry requirements; you do not need every anatomical term memorized before beginning. TeachPilates requires no teaching background and includes anatomy in its curriculum.
Do I have to memorize every muscle to teach Pilates?
No—memorizing every muscle is not the same as understanding how to teach an exercise. Focus on the anatomy required by your syllabus and connect it to movement, cueing, and teaching limits.
How much does the TeachPilates course cost in 2026?
TeachPilates tuition is $497 for self-paced online study. Confirm access terms, assessment conditions, and any separate requirements before enrolling.
Does online anatomy study qualify me to teach Reformer Pilates?
Online anatomy study alone does not establish apparatus-teaching competence. Distinguish introductory Reformer concepts from dedicated hands-on apparatus training and assessment.
Can a Pilates instructor diagnose pain using anatomy knowledge?
Anatomy knowledge alone does not qualify a Pilates instructor to diagnose pain. Keep instruction within your training and refer concerns that require clinical assessment to an appropriately qualified healthcare professional.
One last thing
Practice explaining an exercise without naming a muscle. Then add the anatomical explanation underneath it in your study notes.
This separates what the student needs to hear from what you need to understand. For your 2026 training decision, look for a course that helps you connect both—not one you judge only by how technical its vocabulary sounds.